
Grill Bill
In this category

€100 off

Sign up for the newsletter
Getting your kamado BBQ ready for spring: why maintenance matters

Getting your kamado BBQ ready for spring: why maintenance matters

Grill Bill
By Grill Bill
Published
22 April 2026

How do you get your kamado ready for spring after the winter?

After a winter standing idle there is moisture in the ceramic and the gaskets have gone stiff. Clean the kamado thoroughly first, check the gaskets, hinges and cast iron, and then fire it up carefully. Going straight to high temperatures causes thermal shock and cracks in the ceramic.

  • First at least an hour at around 100 °C so the moisture evaporates
  • Only then up to 220 °C for a burn-out of 30 to 45 minutes
  • Little charcoal and the air vents only slightly open
  • Gaskets are often stiff after winter: replace them before the season
  • This applies to every brand of ceramic BBQ, expensive or cheap

Getting Your Kamado BBQ Ready for Spring: Why Maintenance Is Essential

The first rays of sunshine are back, and that means it is time to wake your kamado from hibernation! This guide offers a step-by-step approach to cleaning, inspection, safely firing up and spring grilling tips, so your kamado starts the new season in optimal condition.

Why Kamado Maintenance Matters After Winter

After months standing idle, your kamado may have absorbed moisture, the gaskets may have gone stiff and there may still be old residue from last season inside. Precisely because the kamado has not been used for a long time, a careful spring service is important to prevent damage the first time you use it. Good preparation ensures optimal flavour and smooth operation, and extends the life of your BBQ. Also have a look at our kamado user tips for more advice on everyday use.

Tools You Need for Cleaning a Kamado

Make sure you have these items before you start servicing your Grill Bill kamado:

  • BBQ grill brush or scraper
  • Soft cloths or microfibre cloths
  • Lukewarm water, with soft soap if you like
  • Food-safe mineral oil
  • Silicone spray for hinges, bolts and nuts
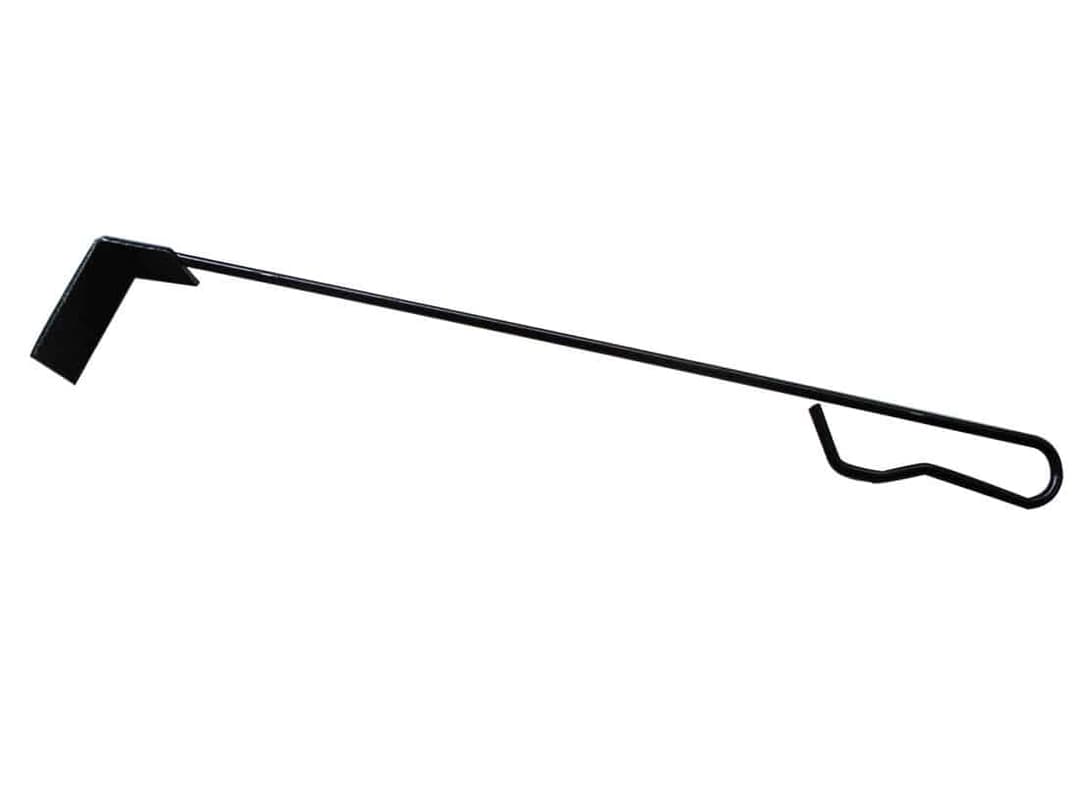
  • Ash removal tool or vacuum cleaner
  • Drying cloths
  • Lukewarm water and a sponge
  • Thermometer to keep a close eye on the temperature

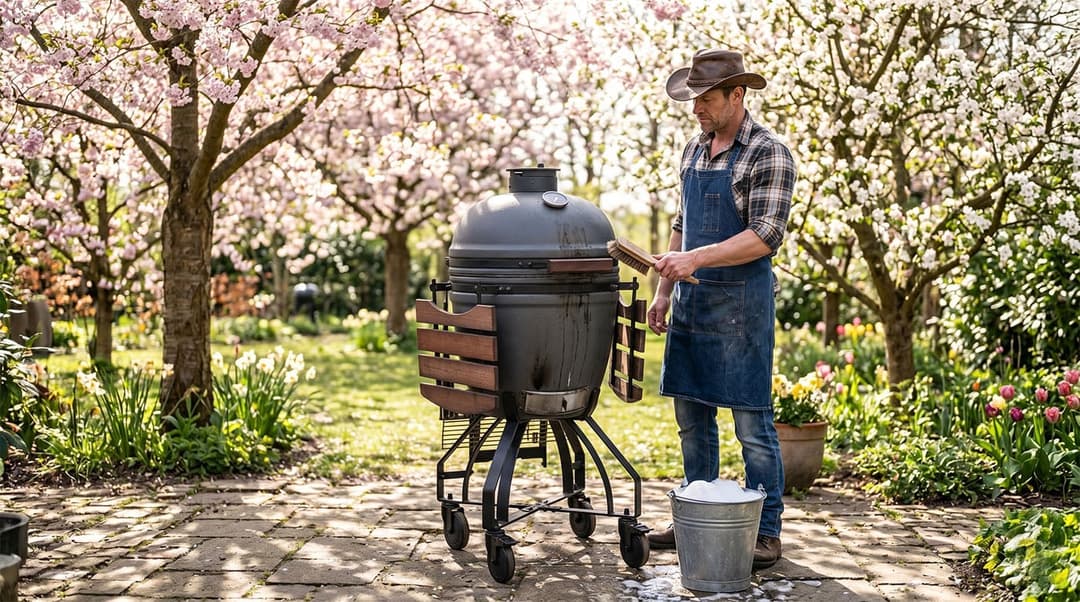
Step 1: Deep Cleaning the Kamado After the Winter Break

Start with a complete clean to remove winter residue and get your kamado ready for spring. Follow these steps carefully:

Removing Ash and Residue from the Kamado

  1. Remove any old charcoal residue and ash by taking out the fire ring and firebox. Use an ash poker or a small vacuum cleaner.
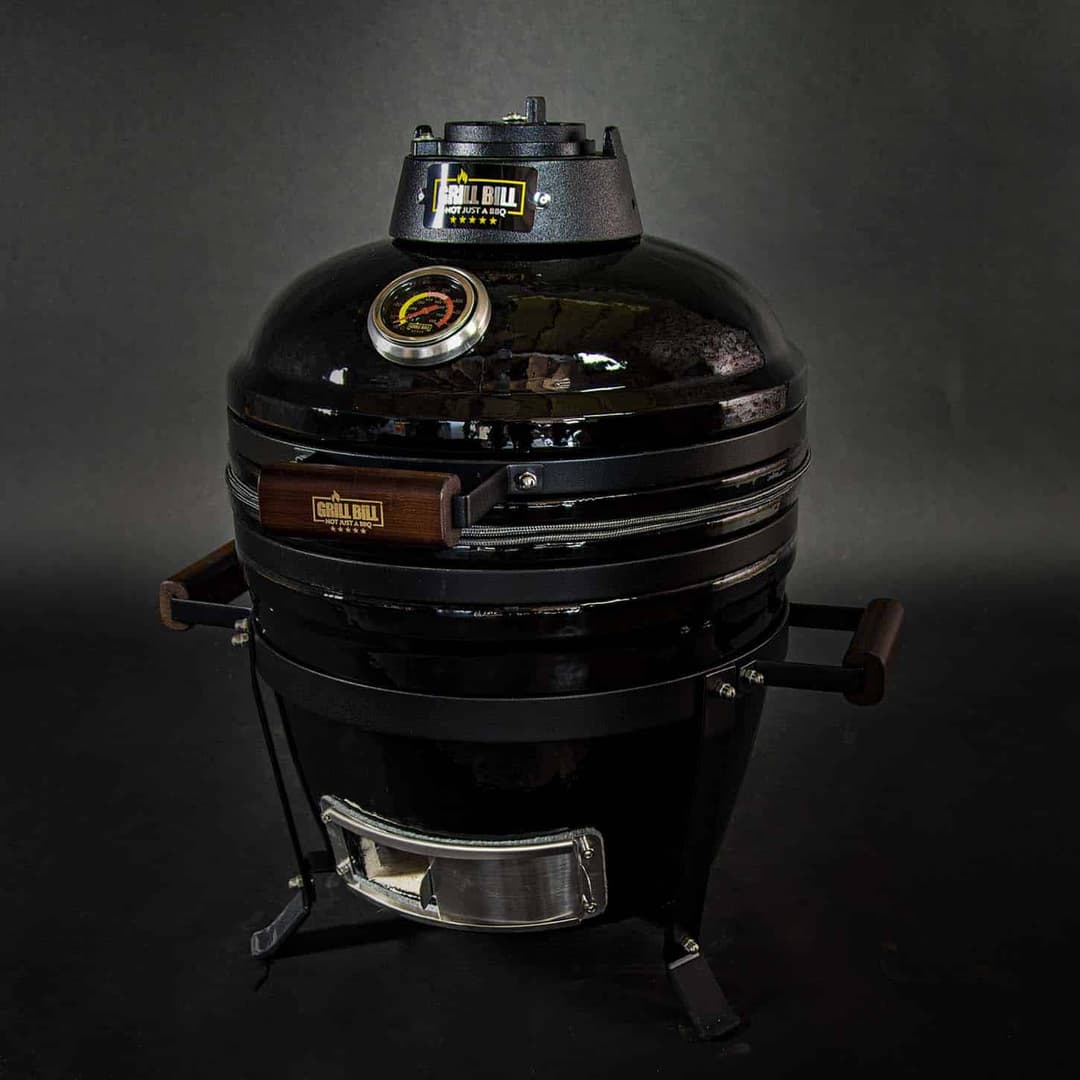
  2. Check the air vents for blockages or cobwebs. Keep the bottom and top vents free of dirt for good airflow when you first fire it up. You can read more about how airflow works in airflow in a kamado explained.

Cleaning the Cooking Grates on a Kamado

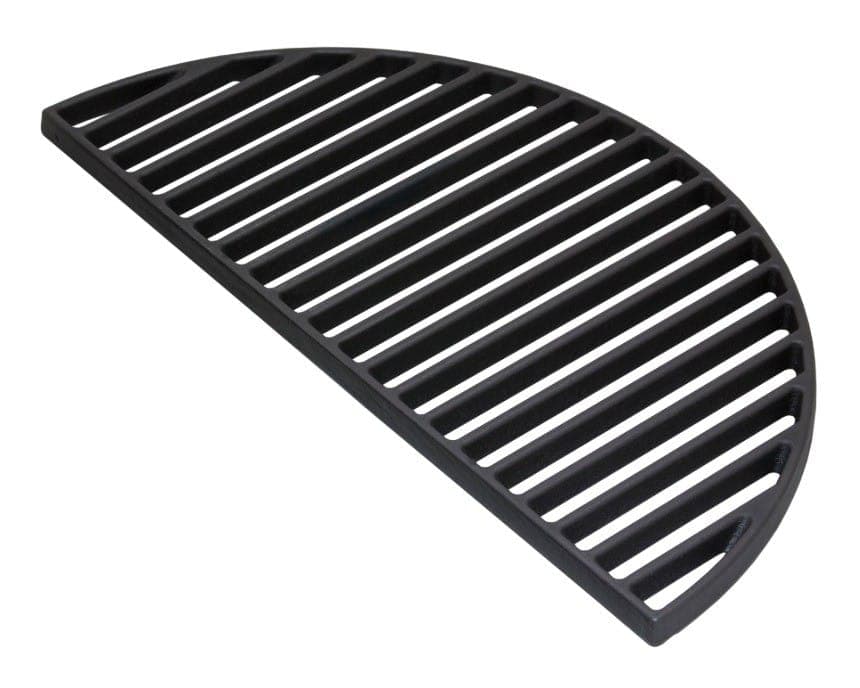
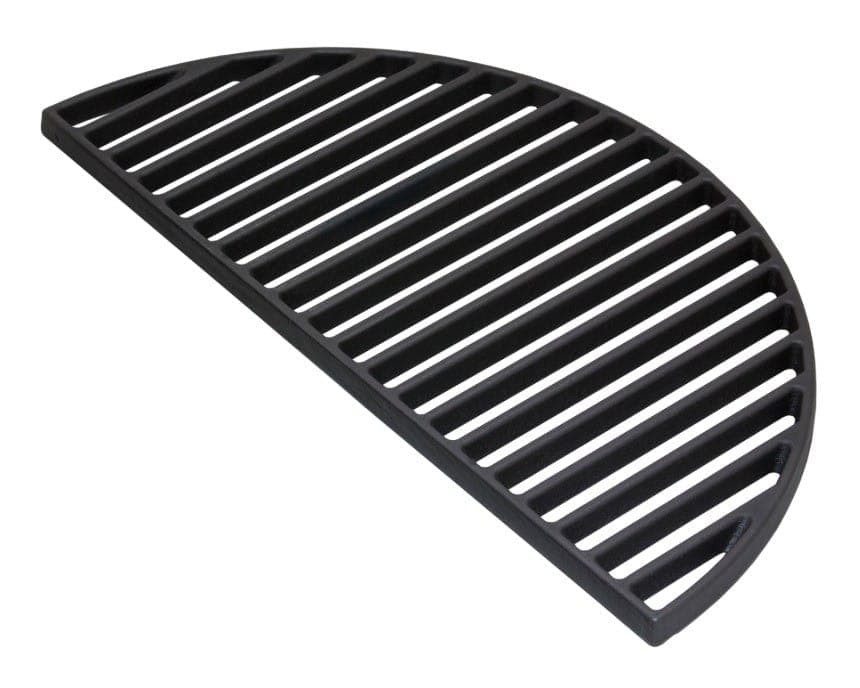
  1. Take the cooking grates out and scrape off baked-on residue with a sturdy BBQ brush. Apply a thin layer of oil to cast iron grates to prevent rust.
  2. Clean with a soft soap solution, but re-season cast iron grates afterwards to prevent rust.

Cleaning the Ceramic Interior of the Kamado

  1. Use a BBQ brush or plastic scraper for the interior; avoid abrasive tools to protect the ceramic.
  2. We cover burning it clean (the burn-out) in step 3. Especially after a long winter break, this has to be done carefully to prevent cracks caused by thermal shock.

Cleaning the Exterior and Wooden Parts

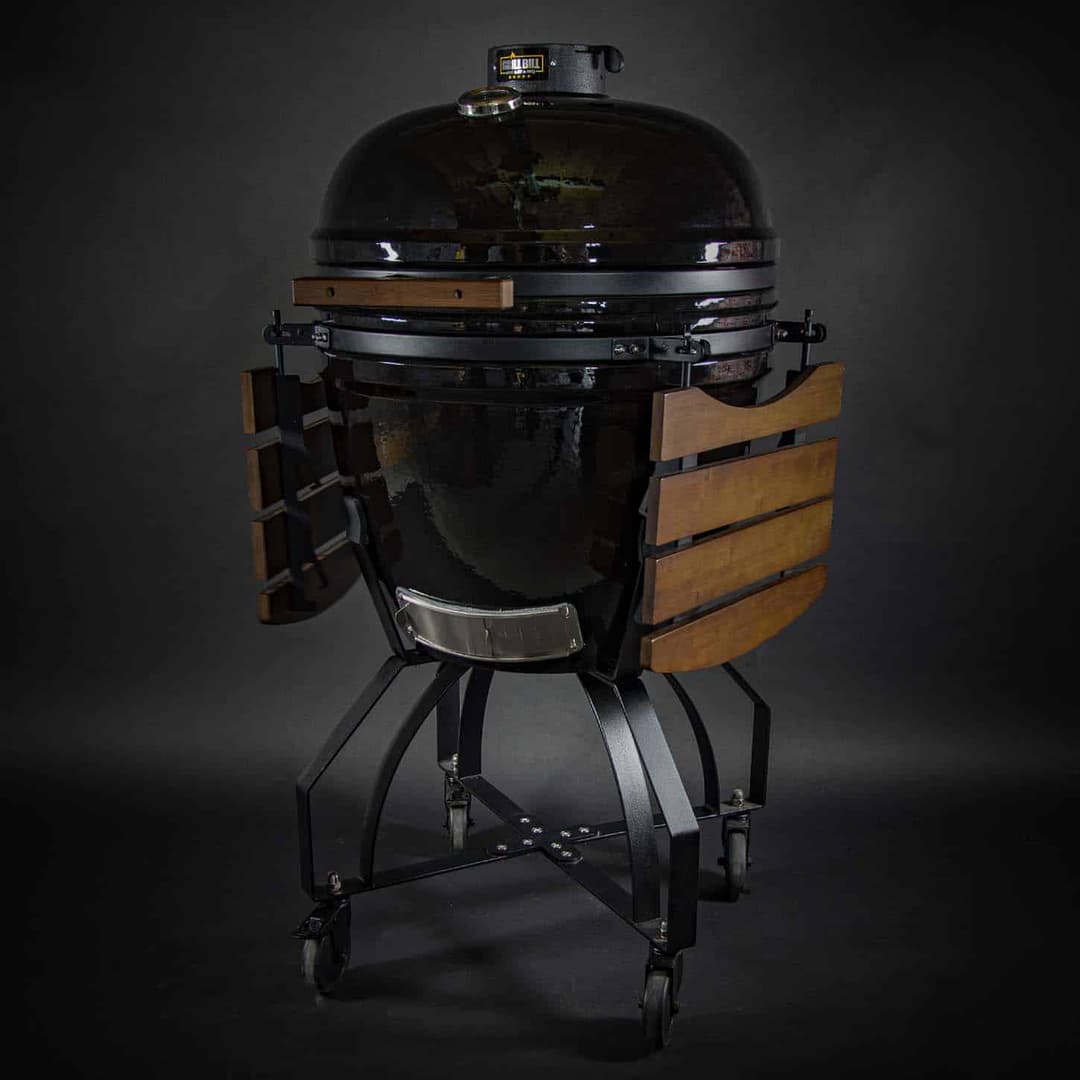
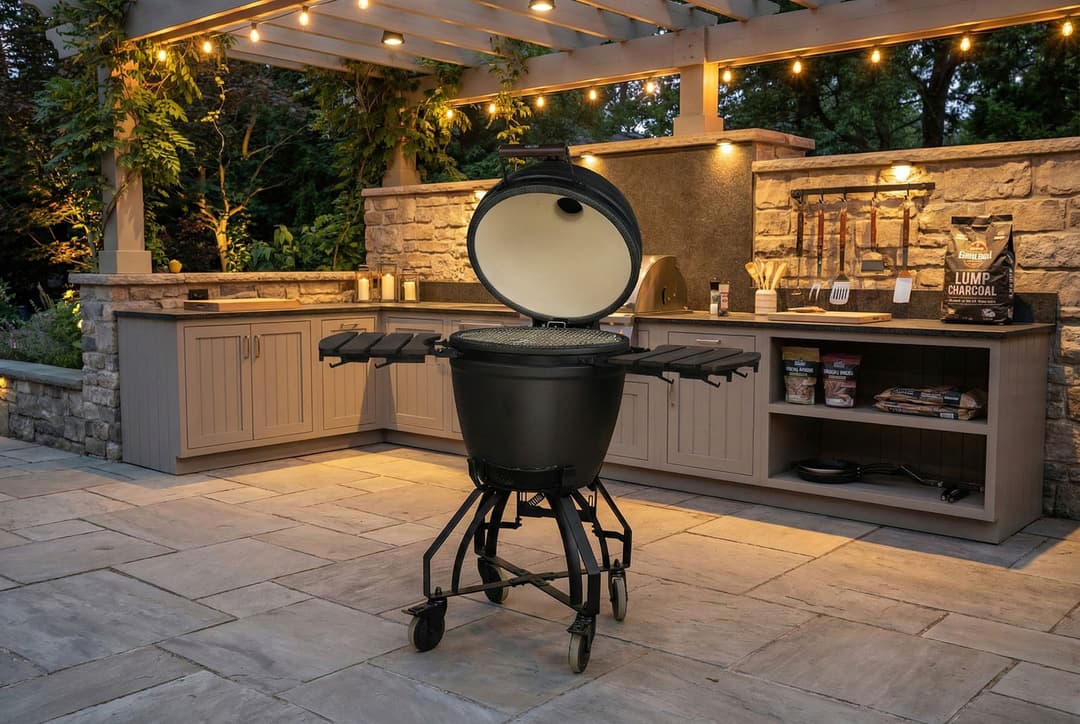
  1. Wipe the outside with a soft cloth, lukewarm water and soft soap if needed. Grill Bill kamados have no pits where dirt can lodge, so this is quick work.
  2. Dry thoroughly to avoid stains and water marks.
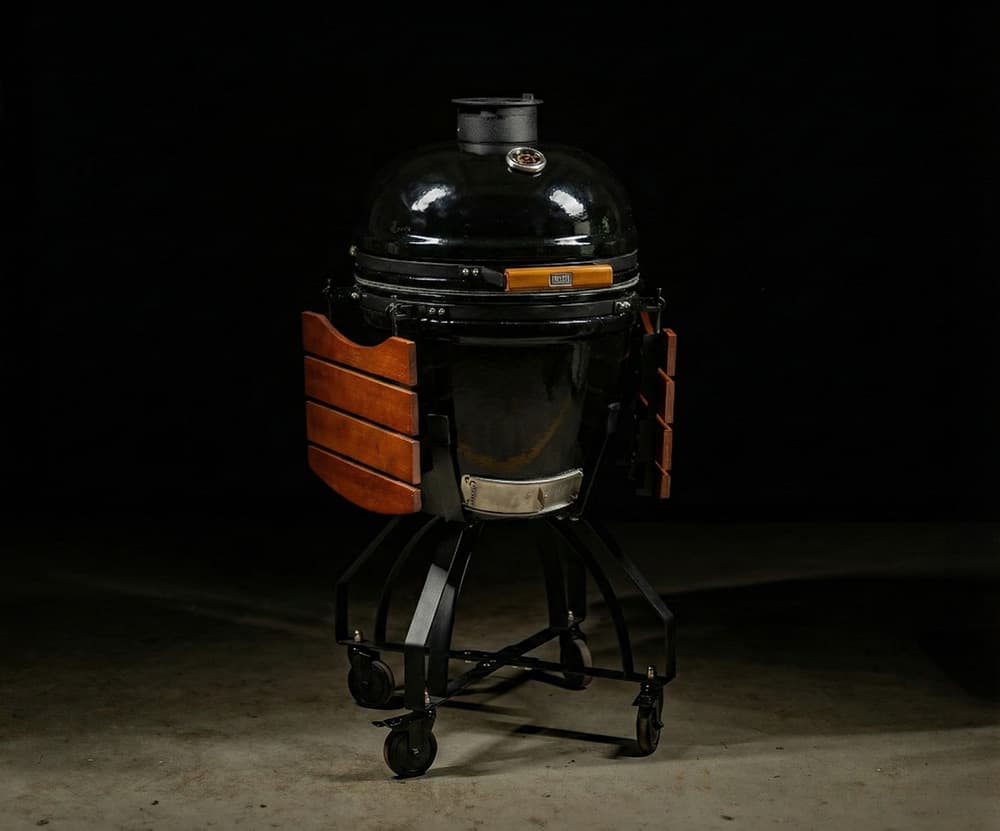
  3. Clean the wooden handle and side tables with a damp microfibre cloth and soft soap. After winter this is the perfect moment to treat the wood with outdoor furniture oil for a fresh look and a longer life.

Step 2: Thorough Inspection of Kamado Components

Check every component after cleaning. After a long winter in particular, parts may have expanded, stiffened up or developed light rust.

Inspecting the Kamado Gaskets

  1. Check the felt or fibreglass gaskets between the lid and base for wear. Gaskets can go stiff over winter; an airtight seal is essential for good temperature control.
  2. Replace worn gaskets before the season starts.
  3. Glue loose sections back down with heat-resistant adhesive or sealant.

Checking the Hinges and Bolts on the Kamado

  1. Check the hinges and bolts are tight. Temperature swings over winter can shake bolts loose. Readjust the lid if necessary.
  2. Spray silicone spray onto moving parts to keep them smooth; avoid scented oils that affect flavours.
  3. Remove any rust on metal with a cloth or soft brush and protect it with silicone spray.

Examining the Cast Iron Parts

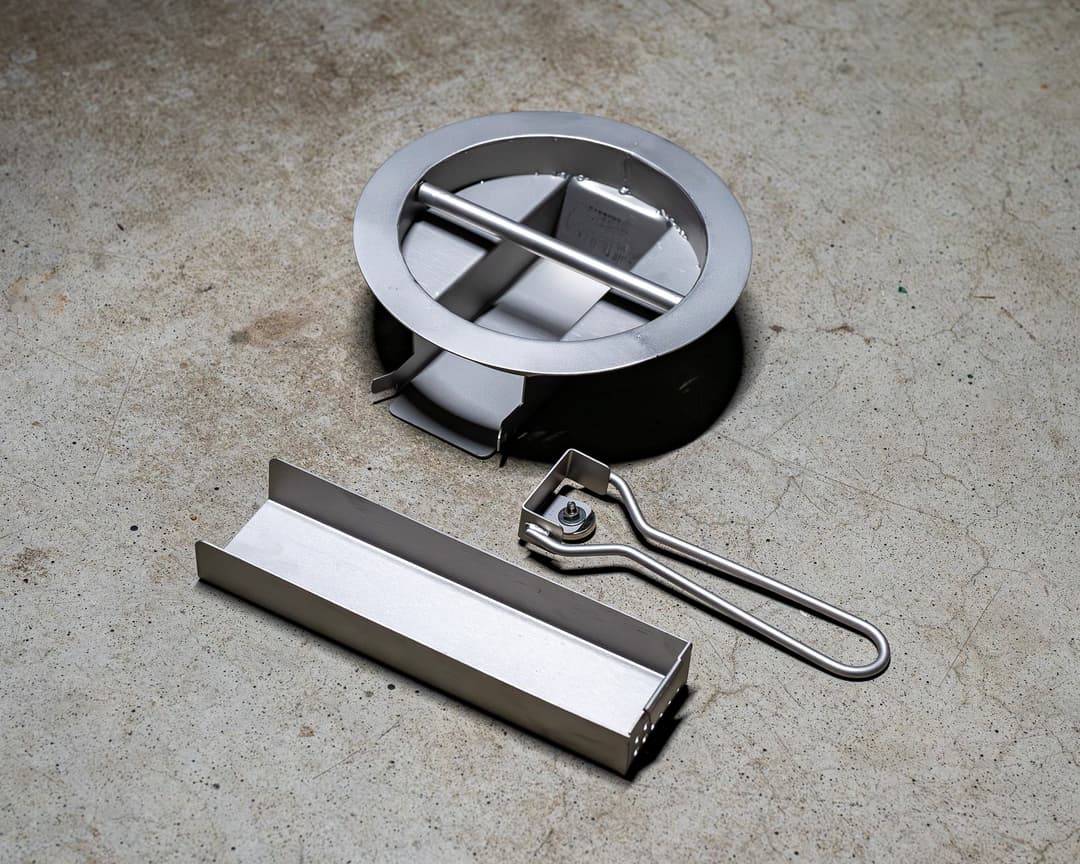
  1. Check the cast iron top controller for rust; winter damp can take hold here quickly.
  2. Sand rust away with steel wool and coat with linseed oil to stop it coming back.

Step 3: Firing Up the Kamado Carefully After Winter

This is arguably the most important step of your spring service. A kamado that has not been used for a long time has absorbed moisture into the ceramic. So do not fire your kamado up like a cowboy, straight through to 400 degrees! Heating up too quickly can cause cracks or splits — damage you can easily prevent. Not sure exactly how to start? Then first read how to light a kamado BBQ and which charcoal suits your Grill Bill kamado best.

Burning It Clean Sensibly: Prevent Damage

  1. Let your kamado warm up for at least an hour at around 100°C. This gives the moisture that has soaked into the ceramic over winter time to evaporate gradually. Only after that may you raise the temperature further.
  2. Use little charcoal for this first firing and open the air vents only a little. That keeps the temperature stable at around 100°C. See also our guide on how much charcoal to use in a kamado.
  3. After that hour you can calmly raise the temperature to 220°C for a burn-out of 30-45 minutes, to burn off the last of the residue.
  4. Warning: never skip this step after a long winter break! Going straight to high temperatures can cause thermal shock, which leads to cracks in the ceramic. This is one of the most common kamado mistakes; burning it clean sensibly prevents damage that cannot be repaired.

A Good Spot for Your Kamado in Spring

  1. Stand your kamado on a stable, dry surface such as stone or raised wood. Spring showers can still be heavy.
  2. Choose a spot out of the wind; spring can be blustery and that affects temperature control.
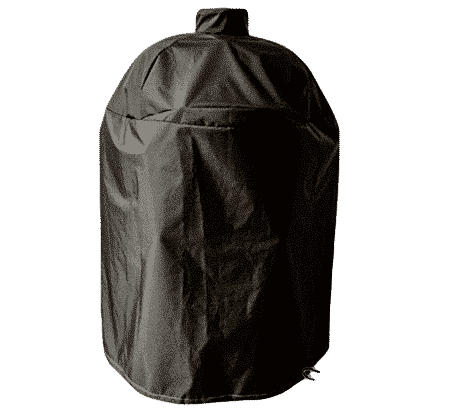
  3. Use a water-repellent BBQ cover with ventilation when the kamado is not in use, but always remove the cover before firing up so it can cool and dry. Have a look at the range of kamado accessories for a suitable cover.

Practical Tips for Spring Barbecuing with a Kamado

Your Grill Bill kamado is now ready for spring; enjoy it with this advice:

  • Build Up Gently the First Time: start your first sessions of the season at lower temperatures. Let the ceramic get used to heat again after winter.
  • Choosing Spring Dishes: perfect for asparagus, lamb, young vegetables, fish and poultry. The Dutch Oven is ideal for spring stews; find inspiration in our kamado BBQ recipes.
  • Watch Out for Changeable Weather: spring often brings unexpected showers and temperature swings; keep a close eye on the thermometer and adjust the air vents. More on this in kamado techniques.
  • Experiment with Smoke: spring is a lovely moment to work with different smoking woods; think cherry wood for poultry or alder for fish. Learn more about smoking on a kamado.

With these steps your Grill Bill kamado stays ready for the new grilling season!

Frequently asked questions about kamado maintenance

Why is maintaining my kamado after the winter important?
After a long winter break your kamado may have absorbed moisture into the ceramic, the gaskets may have gone stiff and there may be old residue inside. A proper spring service prevents damage the first time you use it, ensures optimal flavour and extends the life of your BBQ.
What supplies do I need to clean a kamado?
You need a BBQ brush, soft cloths, lukewarm water with soft soap, mineral oil, silicone spray, an ash removal tool, drying cloths, a sponge and a thermometer.
How do I burn my kamado clean without causing damage?
Burning it clean sensibly is crucial after winter. Let your kamado warm up at 100°C for at least an hour so moisture in the ceramic evaporates gradually. Only then may you raise the temperature to 220°C for a burn-out of 30-45 minutes. Going straight to high temperatures can cause thermal shock and cracks.
How do I check the gaskets and hinges on my kamado?
Inspect the gaskets for wear and stiffness after winter; replace them if necessary and glue loose sections back down. Check the hinges and bolts are tight, spray them with silicone spray and remove any rust with a cloth.
How do I prepare my kamado for the new grilling season?
Clean the kamado thoroughly, check every component, fire it up carefully (at least an hour at 100°C) and stand it in a dry, sheltered spot. Take the first sessions gently so the ceramic gets used to the heat again.
What are the tips for grilling with a kamado in spring?
Start gently at lower temperatures and build up. Go for spring dishes such as asparagus, lamb and young vegetables. Allow for changeable spring weather and experiment with smoking woods such as cherry or alder.
Does this apply to every brand of kamado?
YES! Whether you have an expensive Green Egg or Bastard, or a cheap one from the DIY store round the corner. All ceramic BBQs absorb moisture — that is simple physics: moisture expands when it heats up, and if that happens too fast you risk damage!
Fire up

Eens per maand,
een real brief.

Recipes, drops and long essays about smoke. No noise, never resold.