Grill Bill
In this category

€100 off

Sign up for the newsletter
Breaking in a kamado BBQ: how to start off right
Grill Bill
By Grill Bill
Published
22 November 2025

How do you break in a kamado BBQ?

Breaking in gently drives the moisture out of the ceramic and lets the gaskets, sealant and metal settle into the heat. Fill the firebox to 80% and hold 150-180 degrees dome temperature for 45 to 60 minutes on the first session. Then let the kamado cool right down before you light it again.

  • Sessions 1 to 5: maximum 180 °C on the dome thermometer
  • Sessions 6 to 10: 200 to 250 °C, cooling down completely each time
  • Pizza and high heat only come after session 10
  • Fill the firebox to 80% with coarse hardwood charcoal, never briquettes
  • Never lighter fluid: ceramic is porous and you'll taste it at every session

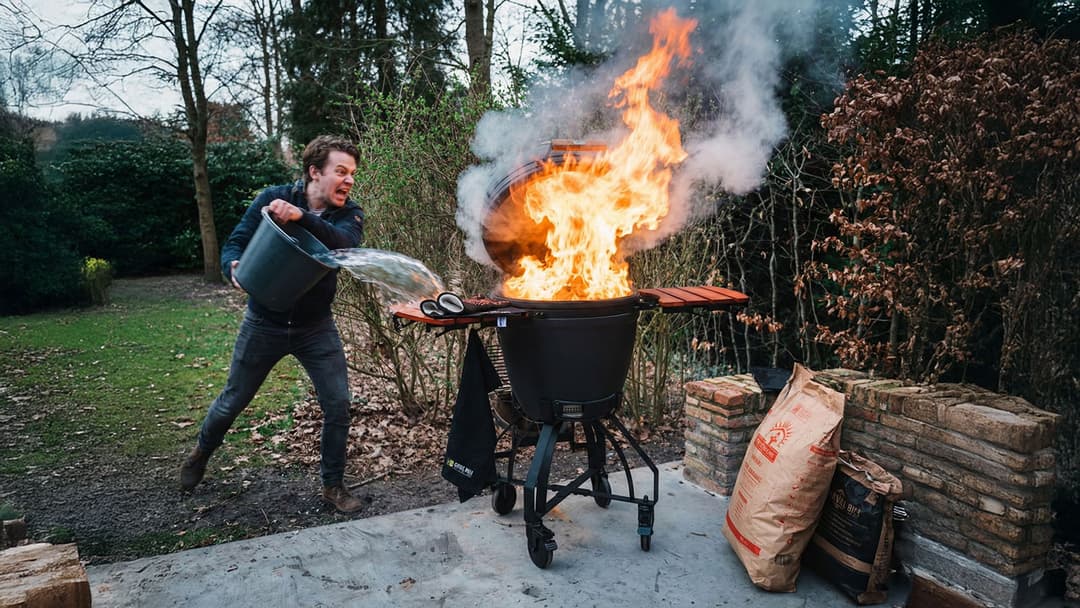
Your new kamado is standing outside. The charcoal is ready. And that first steak is calling. We completely get it. But do yourself a favour and start gently, because before you start grilling, you break the kamado in first. Sounds like a lot of faff. It isn't. It's the difference between a kamado that lasts a lifetime and one that gets damaged before long.

And yes, the manufacturer can void your warranty if you don't use your kamado as prescribed.

Our motto here is: better to prevent than to replace. It's no coincidence that we rarely get warranty claims. Our customers are well informed, and get more enjoyment from their Grill Bill kamado as a result.

Why is breaking in your kamado important?

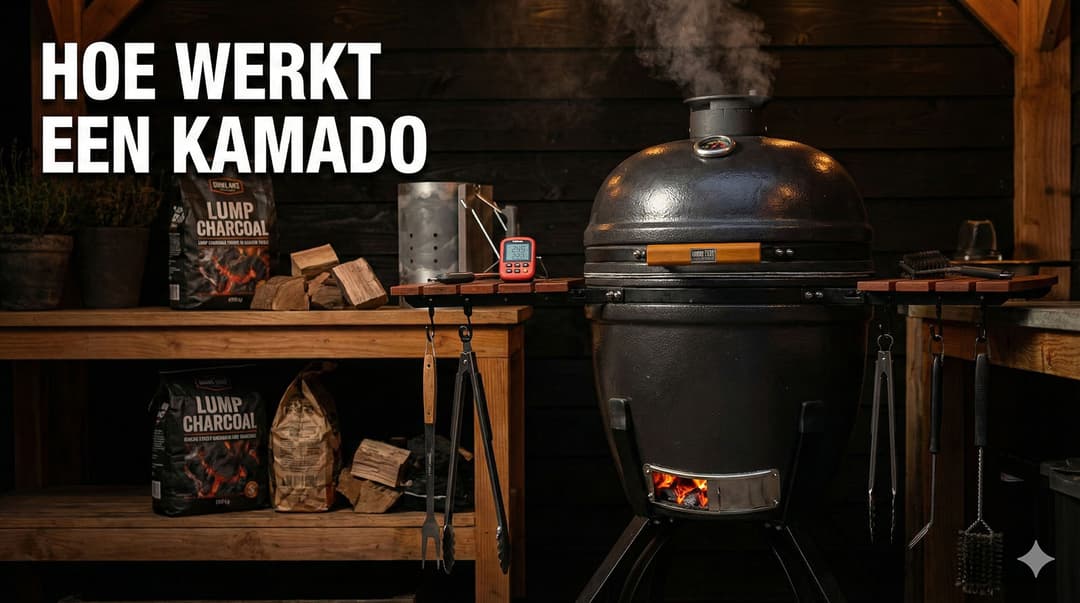
A kamado is ceramic. After production and transport, that material absorbs moisture, and sometimes traces of glue or coating too. Put a full-blown fire in it straight away and that moisture gets no chance to escape gently. It expands, too fast, and that creates pressure. Steam pressure. The ceramic can't always cope. Want to understand exactly why ceramic is so sensitive to rapid heating? Then start by reading how a kamado BBQ works.

On top of that, the gaskets, sealant and metal parts need a chance to settle in with each other. With a proper break-in period:

  • the ceramic dries out gradually
  • the gaskets seal tightly
  • the glue or sealant cures fully
  • metal parts such as hinges and bands settle calmly
  • your kamado handles temperature control better and more steadily
  • any production residues burn off

These aren't only the kinds of damage that occur if you don't break your kamado in, but also from heating it too fast. Even if your kamado has been kept dry in the shed, the ceramic has absorbed moisture. Even then, you start gently.

  • A rain cover doesn't protect against this moisture. That cover keeps rain, dirt and sun out, but damp air simply gets underneath it. Ceramic is porous and draws that moisture up, certainly in a climate like the Netherlands.

Why a kamado cover doesn't keep moisture out

A kamado cover mainly protects against rain, dirt and sun, but not really against moisture. The fabric is usually breathable and not fully waterproof, so damp air from outside (high humidity, mist, dew) can simply get through. On top of that, condensation forms from the inside because of temperature swings: warm air under the cover cools against the cold ceramic, creating droplets that stay trapped. Because ceramic is porous, that moisture slowly works its way in, especially in damp climates like the Netherlands. So a cover helps against direct weather, but doesn't prevent humidity or condensation. Leaving the vents open, putting a moisture absorber underneath or airing the cover regularly all help avoid problems.

This happens with every kamado brand, expensive and cheap. In most cases it fortunately goes fine. But sometimes it doesn't, and then you have an expensive problem.

What you need

No complicated tools.

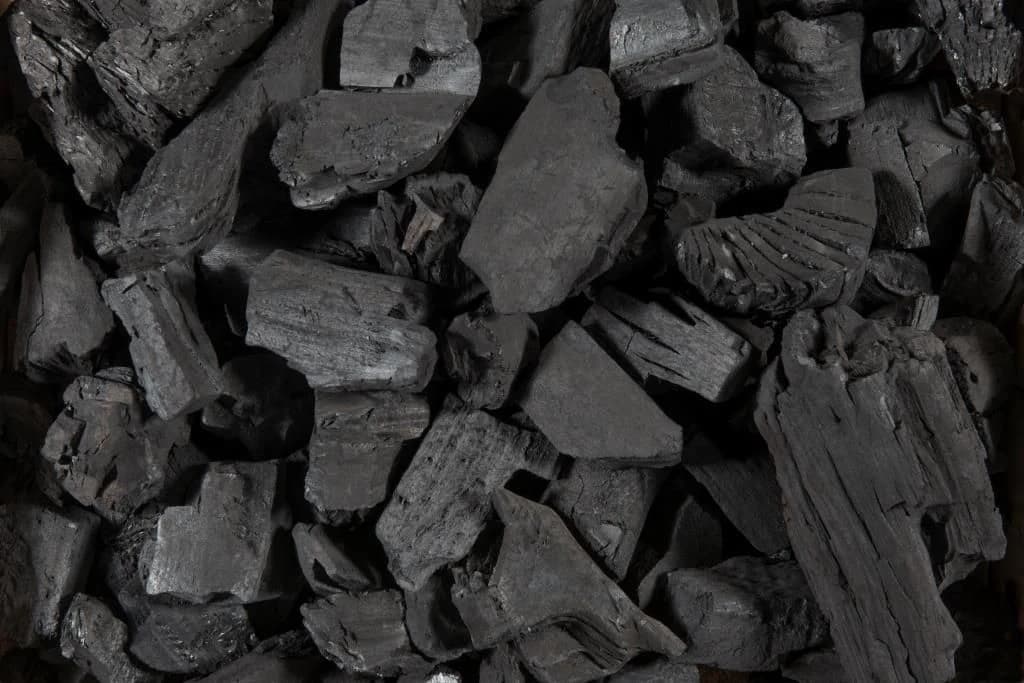
  1. Good charcoal without additives. No briquettes, no supermarket or petrol-station rubbish. Choose pieces that let the air through.
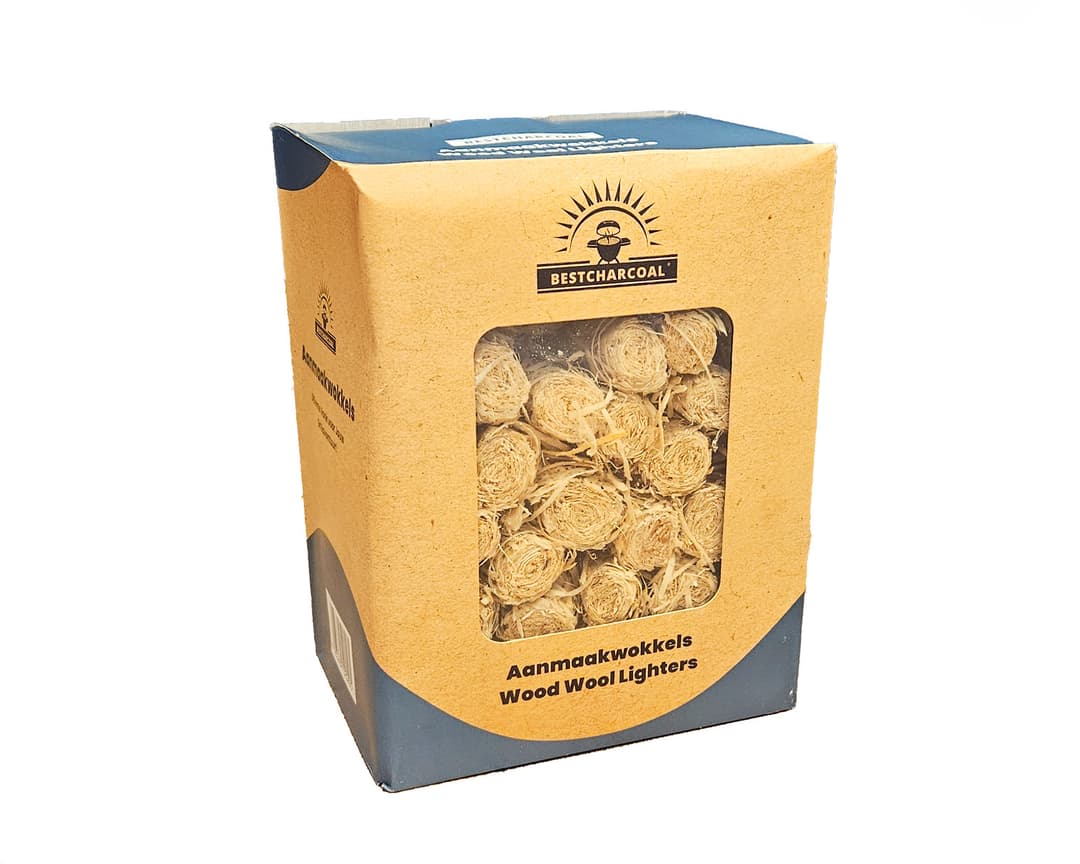
  2. Natural firelighter wool. Never lighter fluid or white chemical firelighter cubes, because that soaks into the ceramic and you'll taste it at every single session afterwards.
  3. A long lighter or match. And patience. That last one matters most.

Step by step: how to break in your Grill Bill kamado

Step 1: Empty and wipe out the kamado

Take all the accessories out of the kamado. Packaging material out too, obviously. Grates, heat deflector, everything. Wipe the inside with a dry cloth or hand brush to remove dust and production residue. Then simply put the firebox and fire ring back in.

Step 2: Load the charcoal

Fill the firebox to about 80%. Coarse pieces at the bottom, smaller pieces on top, and leave room for air circulation. Dust and small fragments are best kept out, because they sink to the bottom and block the airflow. Not sure about the right amount? Have a look at our explanation of how much charcoal to put in a kamado.

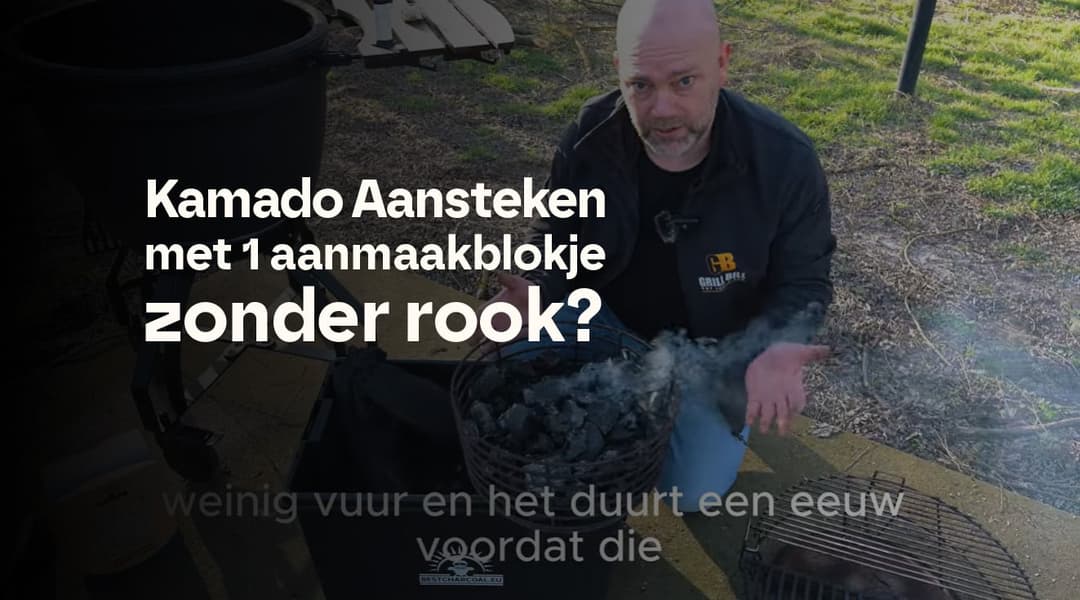
Step 3: Lighting

Make a small hollow in the middle of the coals. Put one or two firelighters in it, on top of the charcoal. Light them and let them burn out completely with the lid open. After five to ten minutes you'll see the charcoal glowing around them.

Want to know more about lighting in general? Have a look at our explanation of how to light a kamado.

Step 4: Lid closed, vents open

Close the lid carefully. Open the bottom and top vents halfway, and let the temperature rise slowly.

Step 5: Keeping the temperature in check

This is where the work is. During the first session, don't let the temperature go above 150 to 180 degrees Celsius. As soon as you're heading towards 130 degrees, start closing the vents down gently. A little at the bottom, a little at the top.

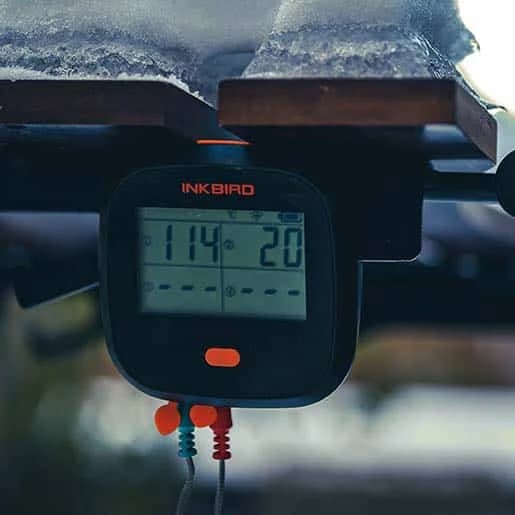
Important: the thermometer in your dome always differs from the temperature at grate level. If your thermometer reads 150 degrees, it's easily 180 degrees at grate level. Want to know exactly? Put a separate thermometer on the grate. You'll find more on controlling the temperature in a kamado in our separate article.

Wait about five minutes after each adjustment. A kamado responds slowly. Adjust too quickly and you'll overshoot the temperature, which is exactly what you want to avoid. How airflow in a kamado works is well worth reading up on, by the way, especially if you want more grip on temperature control.

Step 6: Let it burn, and make something tasty while you're at it!

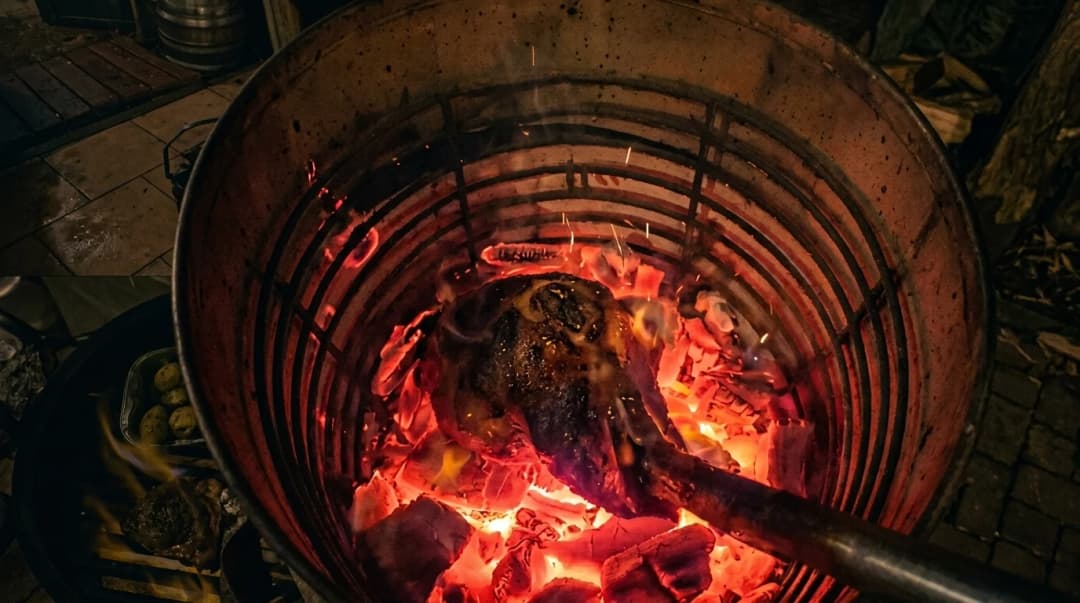
Keep the kamado at roughly 150 to 180 degrees for at least 45 minutes, preferably an hour. In that time the moisture leaves the ceramic and all the parts get used to the heat. You can smell the difference: at first there's a faint new smell. That disappears once the smell of burning charcoal takes over, and that's one you'll want to smell more often!

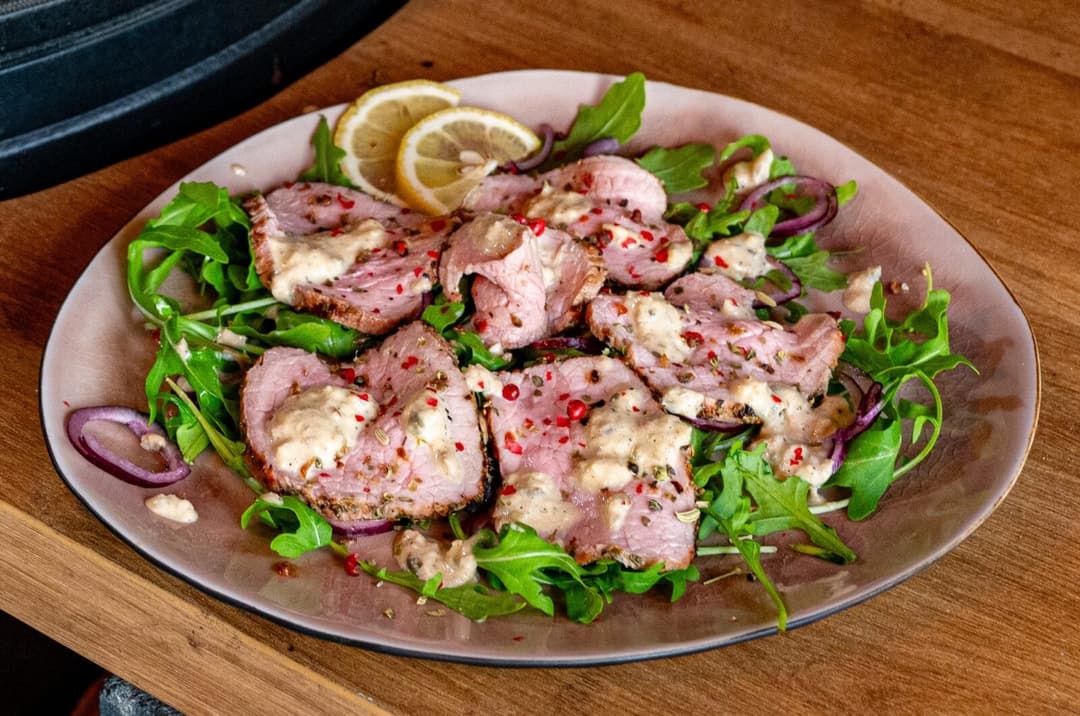
You can happily cook something simple on it in the meantime. That way your charcoal isn't going to waste.

Think of:

  • Smoky chicken thighs
  • Baked potatoes
  • Pork belly
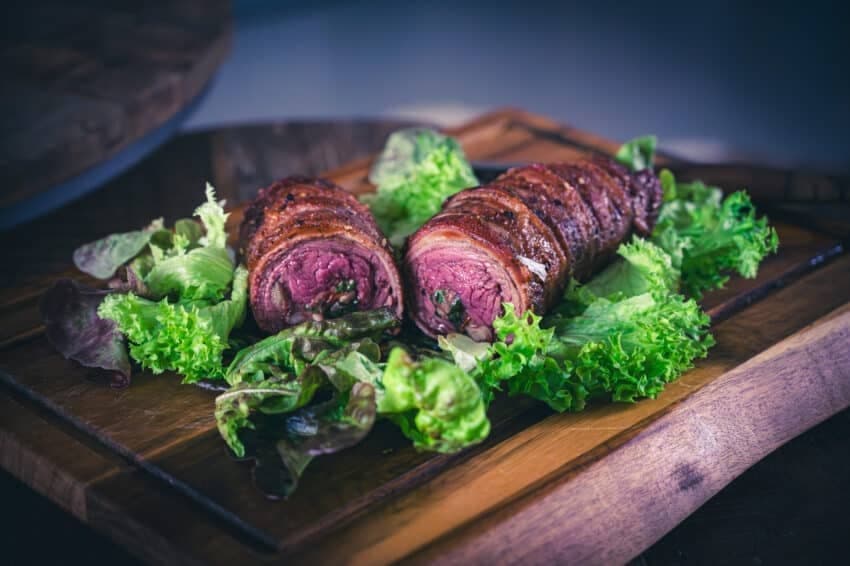
  • Rolled roast
  • Spare ribs
  • Pulled pork

Step 7: Cooling down

After breaking in, close everything fully. The kamado now cools down slowly. That takes quite a while, and that's fine. Don't open the lid in between. Let the ceramic cool down calmly without thermal shocks.

Want to be able to put the kamado out quickly later on? Then read how to shut down a kamado and cool it quickly.

Building up your sessions after the break-in

One break-in session is a good start, but the real bedding-in happens over the first ten sessions. The ceramic gets used to progressively higher temperatures step by step. Here's how it works.

Sessions 1 to 5: maximum 180 °C

  • Light your kamado carefully.
  • Let the temperature rise gently.
  • Stay under 180 °C on the dome thermometer.
  • Hold that temperature for roughly 45 to 60 minutes.

Pizzas, steaks at high heat or other dishes that demand extreme temperatures are off the table at this stage. For inspiration, do have a look at the kamado recipes you can make at low and medium temperatures.

Sessions 6 to 10: maximum 200 to 250 °C

  • You can go a bit higher now, but still build up gently.
  • Aim for a temperature between 200 and 250 °C on the dome thermometer.
  • Let the kamado cool down completely after each session before you light it again.
  • Still avoid extreme temperatures such as pizzas at 300 °C or more.

After session 10: your kamado is fully ready

From this point on, your kamado is ready for full action. Think of:

Your kamado now works as intended: reliable, stable and performing at its best. Discover all the possibilities via the kamado cooking techniques.

Thermometer versus grate: a common miss

Your thermometer sits right at the top of the lid. The temperature just above the fire is far higher than up in the dome, and the hotter you run, the bigger that gap gets. As a guide:

  • roughly 150 °C on the dome is often around 180 °C at grate height
  • roughly 200 °C on the dome is often around 250 °C at grate height

The hotter you work, the bigger the difference. That's why it's smart to use a digital thermometer with a sensor at grate height, so you're cooking at the actual temperature. During the break-in especially, you want to keep a close eye on this.

How do you know your kamado has been broken in successfully?

After the first sessions there are a few clear signs that things are going well:

  • The lid opens and closes smoothly and sits nice and tight on the base.
  • Temperature control feels more predictable and responds more calmly.
  • You hear no cracking sounds or ticking from the ceramic as it heats up.
  • A nice black layer has formed on the inside. That makes your Grill Bill respond more steadily and hold heat better.

Mistakes people make

Running it too hot too soon. This is mistake number one. Driving a brand new kamado straight to 300 degrees is asking for cracks. Sometimes you see them immediately, sometimes only after a few sessions.

Using lighter fluid or chemical firelighter cubes. Never. Really, never. Ceramic is porous and soaks that stuff up. You'll taste it at every session. Use natural firelighter wool only.

Using briquettes instead of charcoal. Briquettes contain binding agents and additives. During the break-in you want the cleanest possible burn. Use coarse hardwood charcoal. If you do want briquettes later, go for coconut briquettes without binders.

Closing the vents too late. If you only start pinching them down at 180 degrees on the dome thermometer, you're already at 200+ at grate level. Start earlier, around 120 to 130 degrees.

Breaking it in while the kamado is wet or standing outside in the rain. Let the kamado dry out completely before you start. Moisture plus a fast fire is a bad combination for ceramic.

Using too much charcoal, so the temperature overshoots. Fill the firebox to 80%, no more. More charcoal means more burning power, and you don't need that during the break-in.

Haven't used your kamado for a long time? Then start it up slowly too. Burning it clean at full power after a long break quickly becomes burning it to pieces. You'll find more mistakes people make on the kamado in our overview of common kamado mistakes.

Do you have to break in every kamado?

My advice: break in every new kamado, whatever the brand. It costs you about three hours and it considerably reduces the risk of cracks. Why wouldn't you?

Breaking in versus burning clean

Two different things. Breaking in is a one-off with a new kamado, to drive out moisture and let the materials settle. Burning clean you do later, when there's a lot of grease build-up or baked-on food residue in the dome.

To burn clean, you take the kamado up to around 250 to 300 °C and let everything burn off. Don't do this too often, only when it's really needed. After an intensive BBQ season, for instance, or if bad smells are coming out of your kamado. The inside doesn't need to go white or grey again, because that black layer is exactly what you want. You can read more about looking after your Grill Bill in our complete guide to kamado maintenance.

Can you cook during the break-in?

Yes, you can. You're sitting by the kamado for a couple of hours anyway, so why not combine business with pleasure? Go for something simple at a low temperature. Chicken thighs, a bit of pork belly cooked indirectly, that sort of thing.

Save pizzas, steaks and anything that needs high heat for after the first ten sessions. They'll come soon enough.

Summary

  • Sessions 1 to 5: maximum 180 °C on the dome thermometer.
  • Sessions 6 to 10: maximum 200 to 250 °C, cooling down completely each time.
  • After session 10 you can use all the cooking techniques.
  • The temperature at the grate is always higher than the dome thermometer shows.
  • Use a digital thermometer with a sensor at grate height for the most control.
  • Never lighter fluid, never briquettes, never rush.

With this approach you give your Grill Bill kamado a good start and set it up for years of safe, stable and flavourful use.

Finally

Breaking in your kamado is not an optional step. It's the foundation for years of cooking pleasure. Take your time, do it calmly and be patient. After the break-in you have a kamado that's ready for anything, from hours-long low-and-slow sessions to scorching hot pizzas. Want to know in the meantime which accessories make your life easier? Then have a look at our accessories range.

And don't forget: barbecuing is not a rush job. That goes for your food, but just as much for that very first session.

Frequently asked questions about breaking in a kamado

What can go wrong if you don't break the kamado in properly?
If you go straight to high temperatures in the first sessions, you risk damaging the ceramic through steam pressure or thermal shock. Hairline cracks or visible fractures are the result. In some cases your warranty is also void if you haven't followed the manufacturer's instructions.
How often do I need to break in or burn clean my kamado?
Breaking in is a one-off with a new kamado, as described in this guide. Burning clean you do occasionally when dirt builds up: fire it up to a maximum of 300 °C (around 250 °C on the dome thermometer) to burn off fats and residue. The inside doesn't need to go white or grey again, because that black layer is exactly what you want.
Does breaking in apply to every kamado brand?
Yes, breaking in is strongly recommended for every kamado brand, cheap or expensive. Ceramic is ceramic, and the behaviour of moisture and thermal stress doesn't differ substantially between brands.
How full do you fill the kamado with charcoal?
Fill the firebox or charcoal basket to about 80% with coarse hardwood charcoal. More charcoal means more burning power, and you don't need that during the break-in.
How long does breaking in a kamado take?
The first break-in session takes 45 to 60 minutes at temperature, plus the time to cool down completely (8 to 12 hours). So plan the break-in for a day when you can leave the kamado standing overnight afterwards. The full bedding-in period of 10 sessions can take several weeks.
What temperature do you break a kamado in at?
During the first five sessions, keep the dome thermometer under 180 °C. That works out at around 200 °C at grate level. Sessions 6 to 10 may rise to 200 to 250 °C on the dome. Only after that do you go to full temperatures.
Can I use lighter fluid during the break-in?
No, never. Ceramic is porous and absorbs lighter fluid. You'll taste that chemical aftertaste at every session afterwards. Use only natural firelighter wool or an electric firestarter.
What is the difference between breaking in and burning clean?
Breaking in is a one-off with a new kamado, to drive out moisture and let the materials get used to heat. Burning clean you do later, when there are a lot of fats or baked-on residues in the dome. To burn clean, you fire up to 250 to 300 °C so everything burns off. Don't do this too often, only when it's really needed.
Fire up

Eens per maand,
een real brief.

Recipes, drops and long essays about smoke. No noise, never resold.